Budget Backpacking Gear List: Everything You Need for Under $500
A solid budget backpacking gear list does not have to cost four figures. For around $450 to $500 in 2026, you can assemble a complete setup covering the big four — backpack, shelter, sleep system, and kitchen — plus clothing and the small essentials that keep a trip running. The key is spending on the gear that carries weight and saving on everything that simply works.
Most first-time backpackers overspend in the wrong places. They buy a premium down sleeping bag but accept a heavy, poorly fitted pack, when the reverse allocation would serve them far better on trail. In addition, the difference between a $40 and a $150 tent is often weight, not waterproofing, which means beginners can safely start cheaper.
This guide gives you a complete, itemized list with realistic 2026 prices, plus the gear you can skip or thrift entirely. For the daily costs once you actually hit the road, pair this with our backpacking budget for Southeast Asia breakdown.
The Four Pieces Worth Spending On
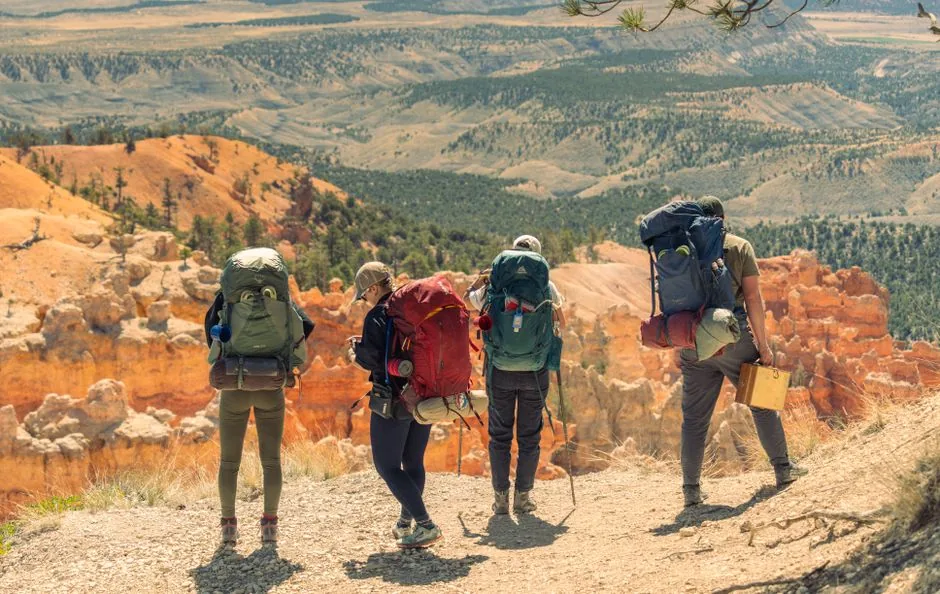
Your backpack, shelter, sleeping bag, and sleeping pad are the backbone of the whole system. Together they decide your comfort and how much weight you haul, so this is where most of your budget should land. Prioritize fit and weather protection over brand names.
The backpack matters most because it touches your body every step. A 50 to 65-liter pack in the $130 to $180 range from a trusted brand fits better and carries weight more comfortably than a $40 no-name bag that digs into your shoulders. For example, a well-padded hip belt transfers load off your back, which is worth every extra dollar.
Shelter and sleep rank right behind. A three-season tent around $130 to $180, plus a synthetic sleeping bag around $60 to $80 and an insulated pad around $40, keeps you dry and warm without breaking the bank. Therefore, budget about half your total here and save elsewhere.
The Full Budget Backpacking Gear List and Cost Table
The table below shows a complete starter kit with realistic 2026 street prices in US dollars, assuming you own basic clothing already.
| Category | Item | Budget pick | Cost |
|---|---|---|---|
| Pack | 55–65L backpack | Brand-name fit, 2–3 lb | $130–$180 |
| Shelter | 3-season tent | Freestanding 2-person | $130–$180 |
| Sleep | Synthetic sleeping bag | 30–40°F rated | $60–$80 |
| Sleep | Foam/insulated pad | R-value 2–4 | $35–$50 |
| Kitchen | Stove + pot + spork | Canister stove kit | $40–$55 |
| Water | Filter + bladder | Squeeze filter, 2L bladder | $45–$60 |
| Light | Headlamp | Rechargeable, 200+ lumens | $25–$35 |
| Safety | First aid + knife | Compact kit, small knife | $20–$30 |
| Misc | Trekking poles, dry bags | Basic poles, 2–3 dry bags | $40–$70 |
The full list lands between $525 and $740 if everything is bought new. However, you can pull it under $500 by thrifting the clothing, catching end-of-season sales, and borrowing a tent from a friend or local outfitter for your first trip.
Clothing: Thrift What You Can, Buy What You Must
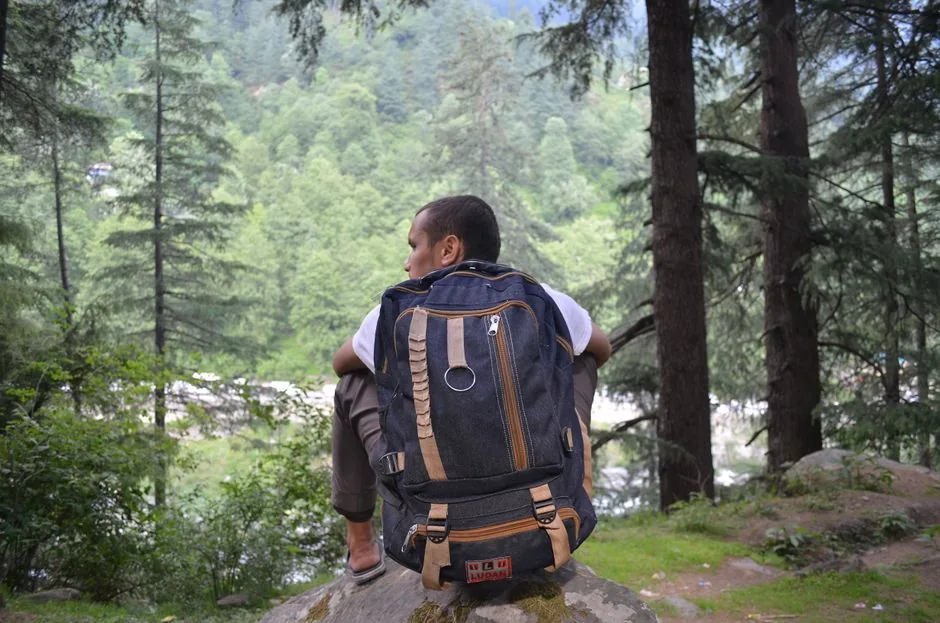
Clothing is where the budget list quietly bleeds money, because every “just one more layer” adds up. The rule is simple: thrift insulation and outerwear, and buy new only for the items that directly touch your skin or your feet.
Merino or synthetic base layers are worth buying new, since they sit against your skin and manage sweat and odor. A cheap synthetic tee costs $15 to $25 and dries fast. Wool socks are another non-negotiable, at $15 to $25 a pair for blister-free feet.
Your rain jacket and warm mid-layer can almost always come secondhand. Thrift stores and resale sites carry barely-used fleeces and shells at a fifth of retail, which alone can save you $100 or more. A waterproof layer costing $25 used keeps you just as dry as a $150 new one for a beginner.
What You Can Skip Without Regret
Beggers overpack out of fear, not need. Leave behind the camp chair, the coffee press, the oversized camp towel, and the “just in case” spare shoes. Each seems small, but together they add pounds to your pack and dollars to your budget.
Skip expensive down sleeping bags in favor of synthetic. Down is lighter and packs smaller, but a synthetic bag stays warm when wet and costs half as much, which matters more to a beginner on a budget. In addition, skip a full cookset; a single pot, a spork, and a mug cover almost every backcountry meal.
Finally, delay specialty electronics. A solar charger, satellite communicator, and drone are toys for later trips. A power bank you already own and a downloaded map on your phone handle the basics for your first few outings.
Where the Real Savings Live
Timing your purchases is worth more than any discount code. Outdoor retailers mark down last season’s tents, packs, and bags by 30% to 50% every spring and fall, and those “old” models are functionally identical to the new ones. You can browse current prices and seasonal sales on REI, which also publishes a helpful backpacking checklist if you want a second opinion on the loadout.
Buying used is the next biggest lever. Packs and tents in particular have long lifespans, so a gently used model saves 40% to 60% with little practical downside. In addition, borrowing from a friend or joining a gear-library program turns your first trip into a nearly free trial before you commit a single dollar.
Remember too that gear is only part of the picture. If the total trip budget is what you are really wrestling with, start with our average vacation cost guide to see how the gear spend fits into the whole number.
Building the List Over Time
You do not need everything on day one. Start with the big four and a water filter, then rent or borrow the rest for your first weekend trip. Each trip after that, buy the single item that would have made the biggest difference, whether that is warmer socks or a lighter tent.
This staged approach keeps your budget backpacking gear list affordable and, more importantly, stops you from buying gear you never use. On the other hand, buying one quality item per trip compounds into a kit built entirely around how you actually travel.
Keep a short post-trip note of what you used and what stayed stuffed in the pack. After two or three trips, that list becomes your personal buying guide, and the guesses disappear.
Seasonal and Climate Gear on a Budget
Your base kit changes little between seasons, but a few climate-specific items are worth planning for rather than panic-buying on the road. Buying ahead, or renting at the trailhead, keeps these from becoming surprise expenses.
For spring and fall trips, add a lightweight insulated jacket and a warm hat and gloves. A used synthetic puffy costs $30 to $50 and layers under your rain shell to stretch a three-season kit into cooler weather without buying a winter bag.
For wet regions, invest in dry bags rather than an expensive waterproof pack. A $15 to $20 dry bag keeps your sleeping bag and clothes bone-dry inside any backpack, which is exactly what you need. A pack cover helps too, but the dry bags do the real work.
Winter and high-altitude trips are the exception where renting beats buying. Crampons, snow stakes, and four-season tents are single-use gear for most beginners, so rent them near the trailhead for $15 to $25 a day instead of laying out hundreds.
The Kitchen Setup in Detail
Your kitchen is the easiest place to overspend and the easiest to cut. A canister stove around $25 to $35, a 750-milliliter pot for $15, a long-handled spork for $5, and a lightweight mug cover nearly every backcountry meal you will actually cook.
Skip the full cookset and the percolator. Boil water in the single pot for oatmeal, coffee, and dehydrated meals, and eat straight from the pouch when you can to avoid washing a bowl. In addition, a small fuel canister lasts several days, so you rarely need more than one spare per trip.
Fresh food beats dehydrated over short distances. Tortillas, cheese, salami, and trail mix cost a fraction of freeze-dried pouches and taste better. Save the $10-per-meal dehydrated dinners for trips where weight is the overriding concern.
Packing and Weight Tips
How you pack matters as much as what you buy. Load heavy items such as the stove and food close to your spine and mid-back, keep the sleeping bag at the bottom, and store often-needed items like rain layers and snacks in the outer pockets.
Keep your packed weight under about 20% of your body weight to enjoy the walk. A beginner’s loaded pack of 25 to 35 pounds is comfortable; every pound beyond that trades scenery for suffering. Therefore, weigh the pack before the trip and cut the least-used items first.
Practice loading at home once before you leave. A quick shake-down in the living room exposes forgotten straps, awkward zippers, and the one item you packed but will never touch, all before the trail does it for you.
FAQ
How much does a budget backpacking gear list cost?
A complete from-scratch setup runs $525 to $740 if bought new, and under $500 when you thrift clothing, catch seasonal sales, and borrow a tent or pack for your first trip.
What is the most important piece of backpacking gear?
Your backpack. A comfortable, well-fitted pack redistributes weight to your hips, which is the single biggest predictor of comfort on trail. Spend here first, then shelter, sleep system, and everything else.
Can you backpack with cheap gear from a big-box store?
Yes, for short trips in fair weather. A $40 tent and a basic stove will get you through a weekend. For longer or rainy trips, invest in a mid-range tent and sleeping system so you stay dry and warm.
Should beginners buy down or synthetic sleeping bags?
Synthetic is the better beginner choice. It costs about half as much, stays warm when wet, and dries fast. Down is lighter and more compressible, but its benefits matter less until you are counting ounces on longer trails.
Pack Light, Spend Smart, Go Anyway
A budget backpacking gear list proves you do not need a premium kit to sleep under open sky and cook over a stove. Spend your money on the pack, shelter, and sleep system, thrift your clothing, and let the rest fall into place trip by trip.
The goal is to get outside, not to build a gear museum. Buy the essentials, borrow the rest, and put the money you save toward the trip itself. Once your pack is sorted, check our backpacking budget for Southeast Asia for what the days on the road will actually cost, and consider how much travel insurance really is before you set off.